Welcome to Peggy Ann Bakery
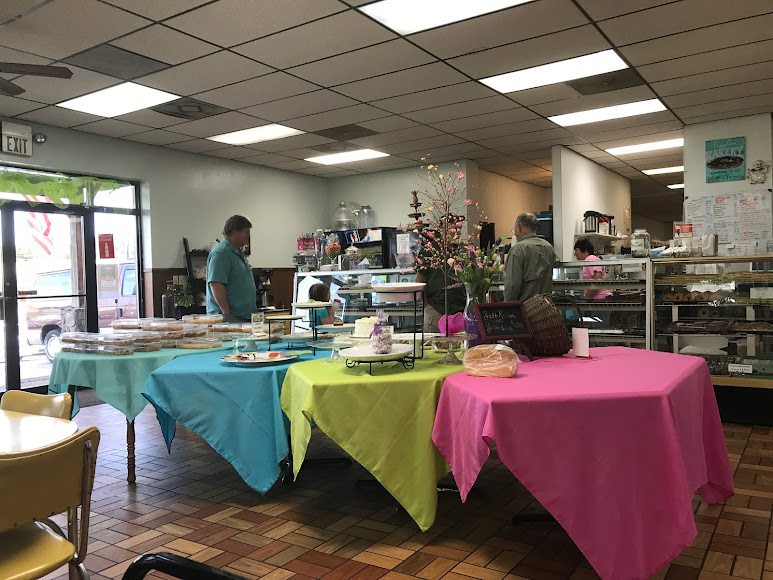
Peggy Ann Bakery is a charming pastry shop nestled in the heart of Greeneville, Tennessee.The bakery is famous for its delectable cakes and a wide variety of freshly-baked pastries that leave customers craving for more.
The Peggy Ann Bakery Greeneville TN menu offers an array of mouth-watering treats that cater to every taste bud. From classic chocolate cakes to seasonal pumpkin pies, the bakery has something for everyone. The baked goods are made using only the finest ingredients, ensuring that every bite is a heavenly experience.
At Peggy Ann Bakery Deli Greeneville TN, the focus is not only on the quality of the food but also on customer service. The shop owner, Peggy Ann herself, is dedicated to providing exceptional service to her patrons. She takes great pride in her business and is always eager to make her customers feel at home.
In addition to being a bakery, Peggy Ann Bakery also has a deli section that serves sandwiches. The deli is a perfect option for those looking for a quick lunch or a light snack.
DAILY FRESH BAKED GOODS IN GREENWVILLE
open HOURS!
MONDAY CLOSED
Tuesday 06:00 am – 04:00 pm
wednesday 06:00 am – 04:00 pm
thursday 06:00 am – 05:30 pm
friday 06:00 am – 05:30 pm
saturday 07:00 am – 04:00 pm
SUNDAY CLOSED
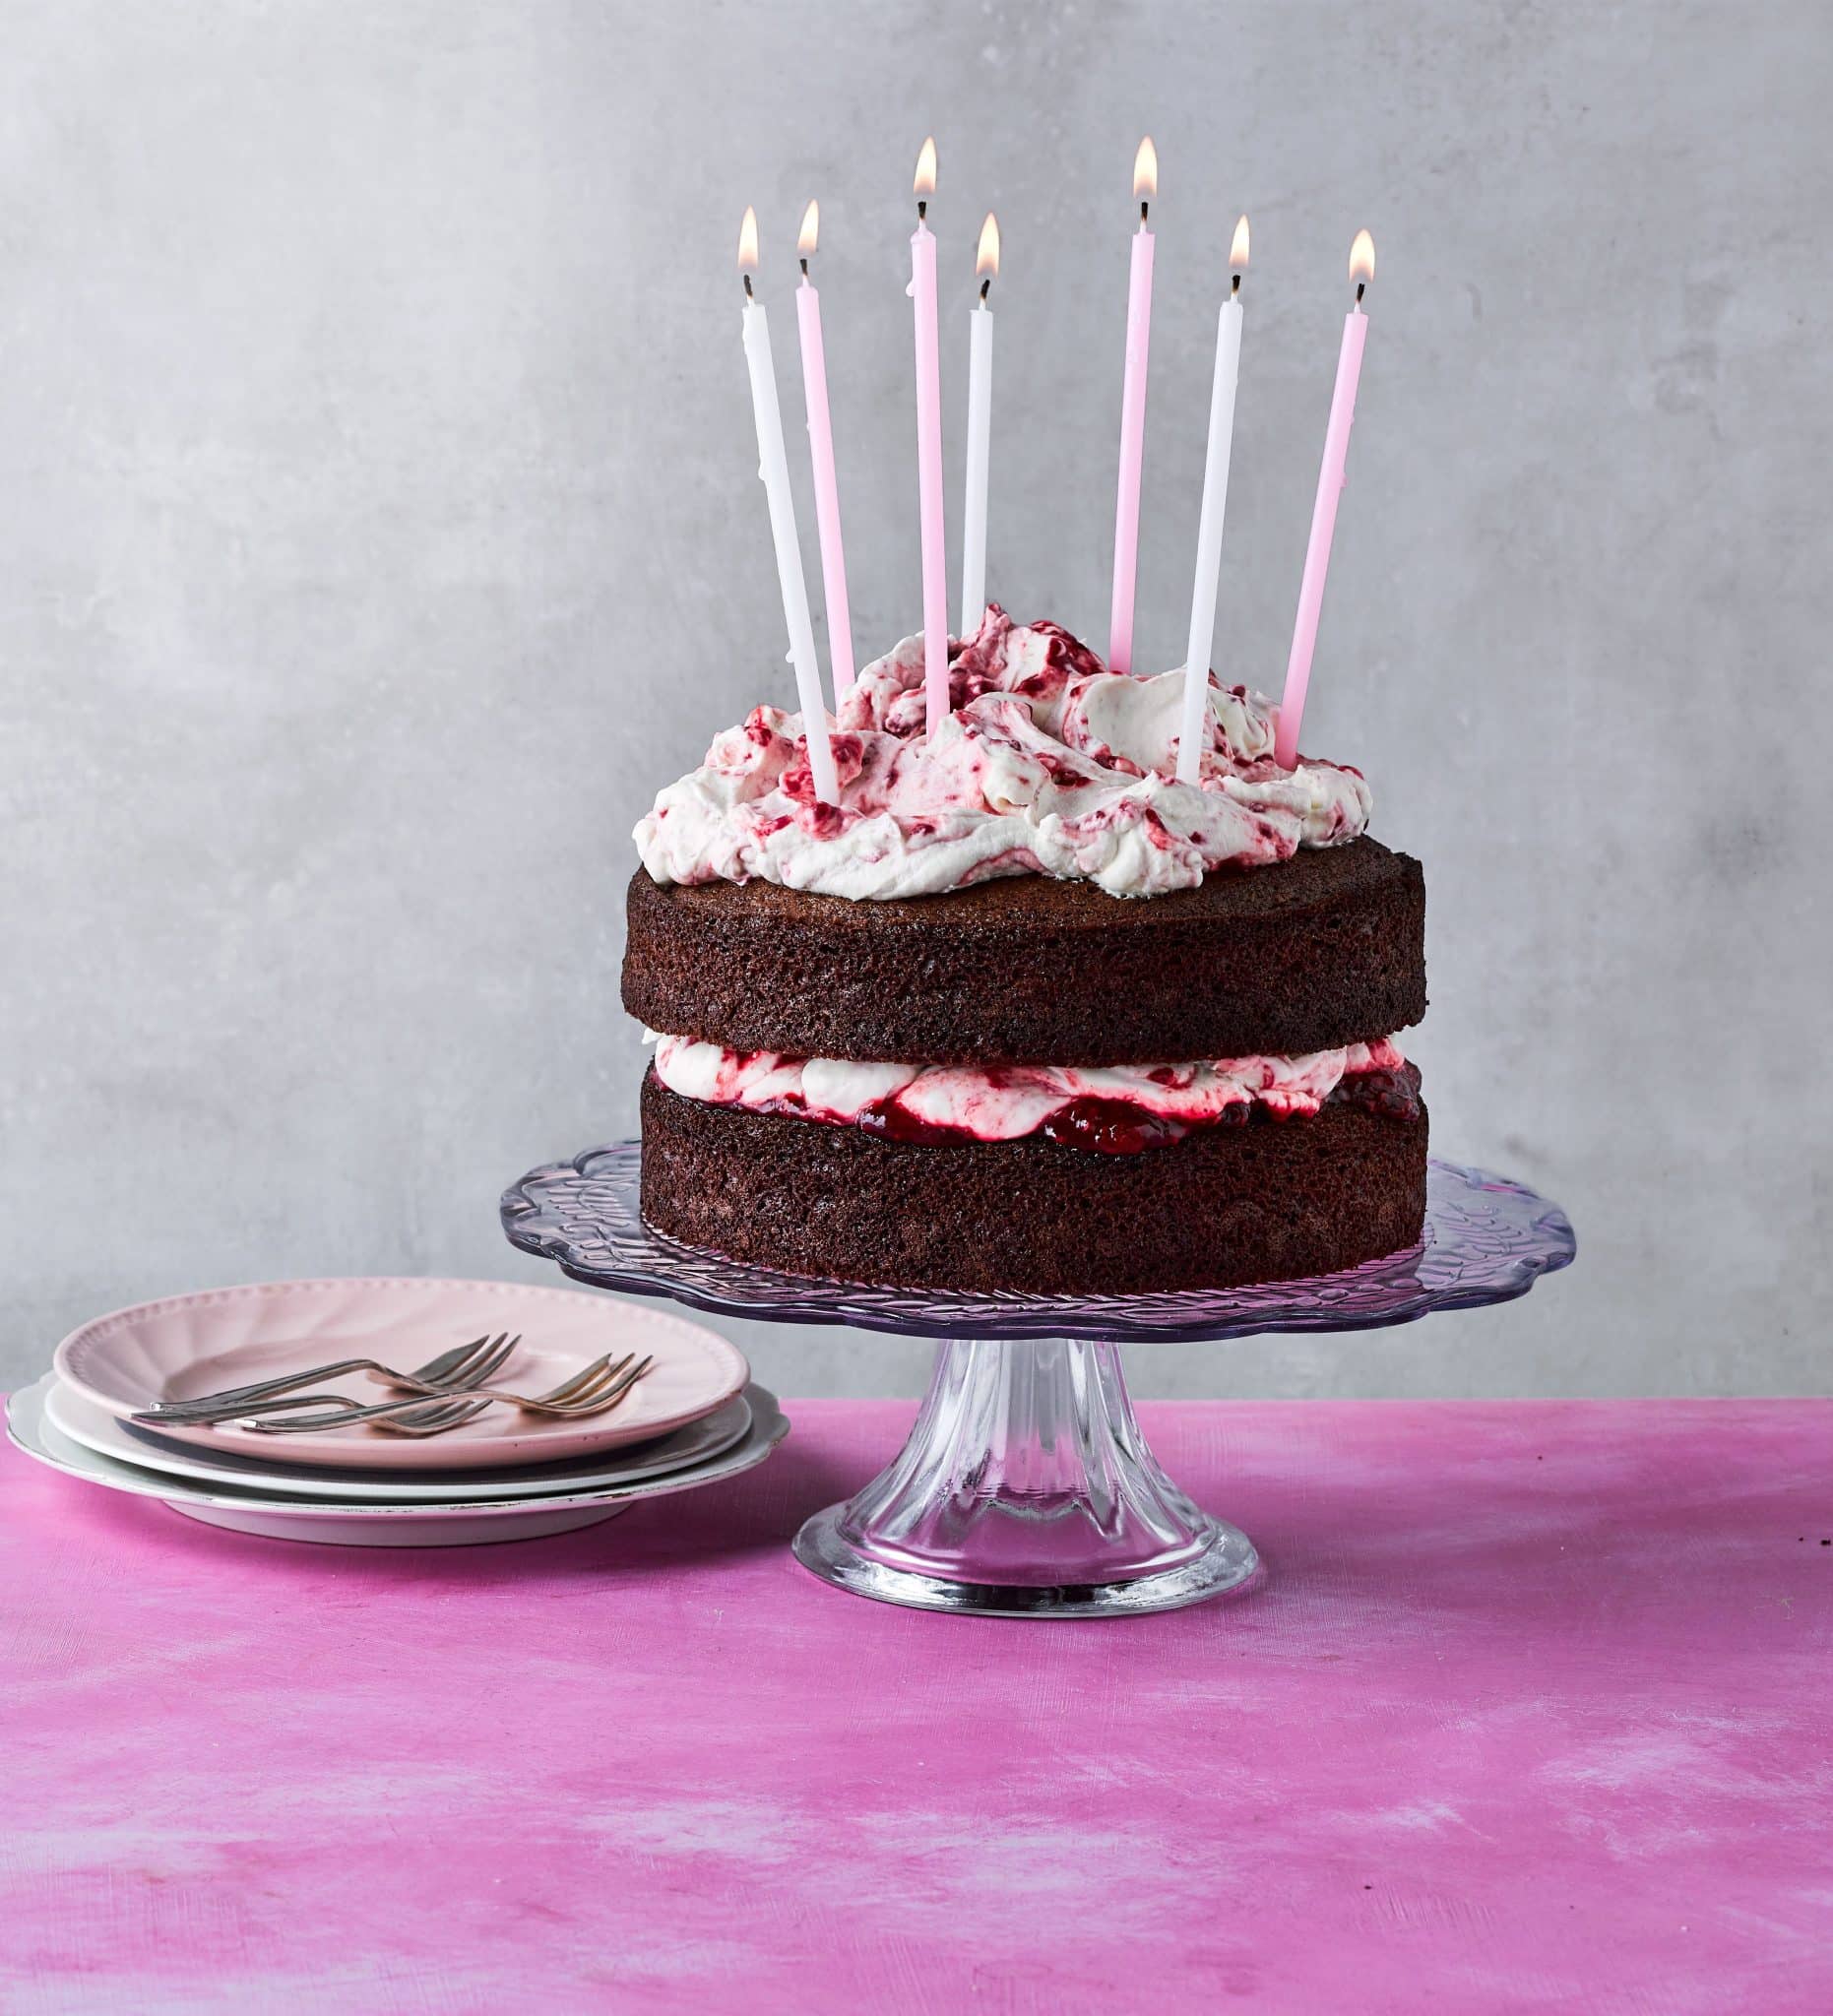
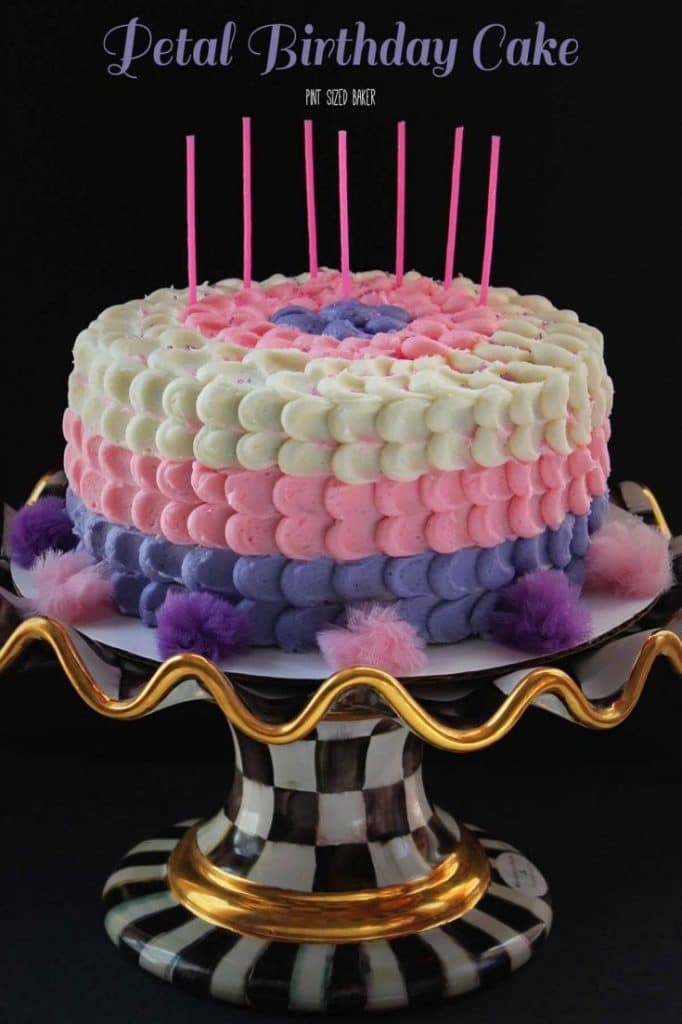
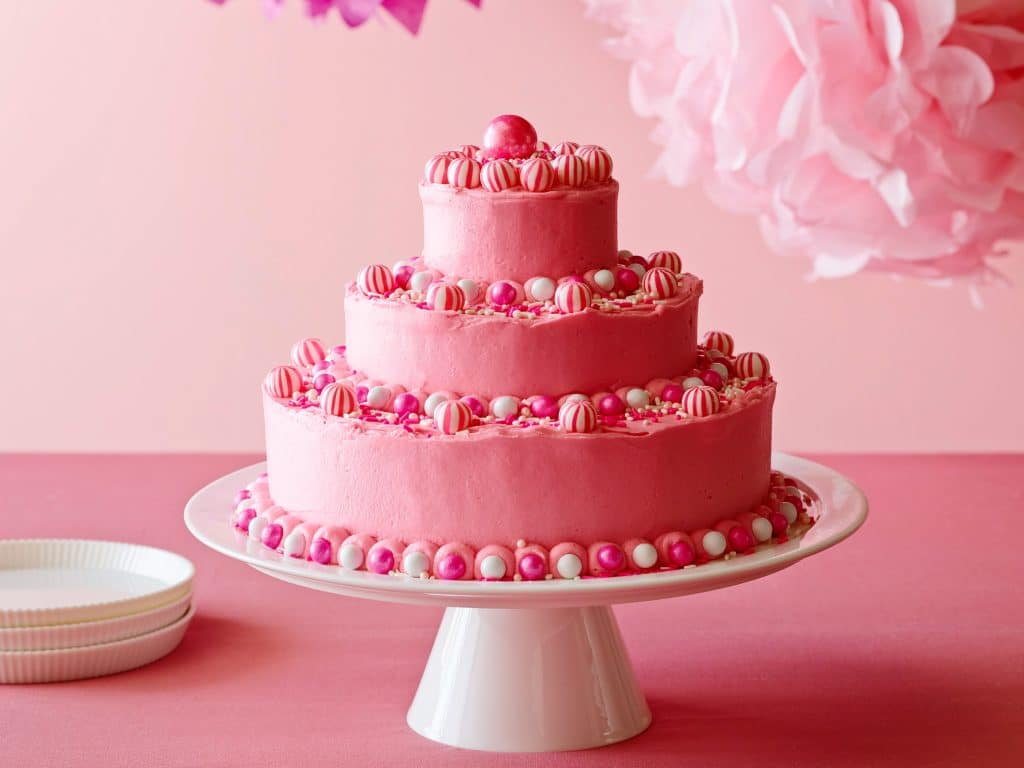
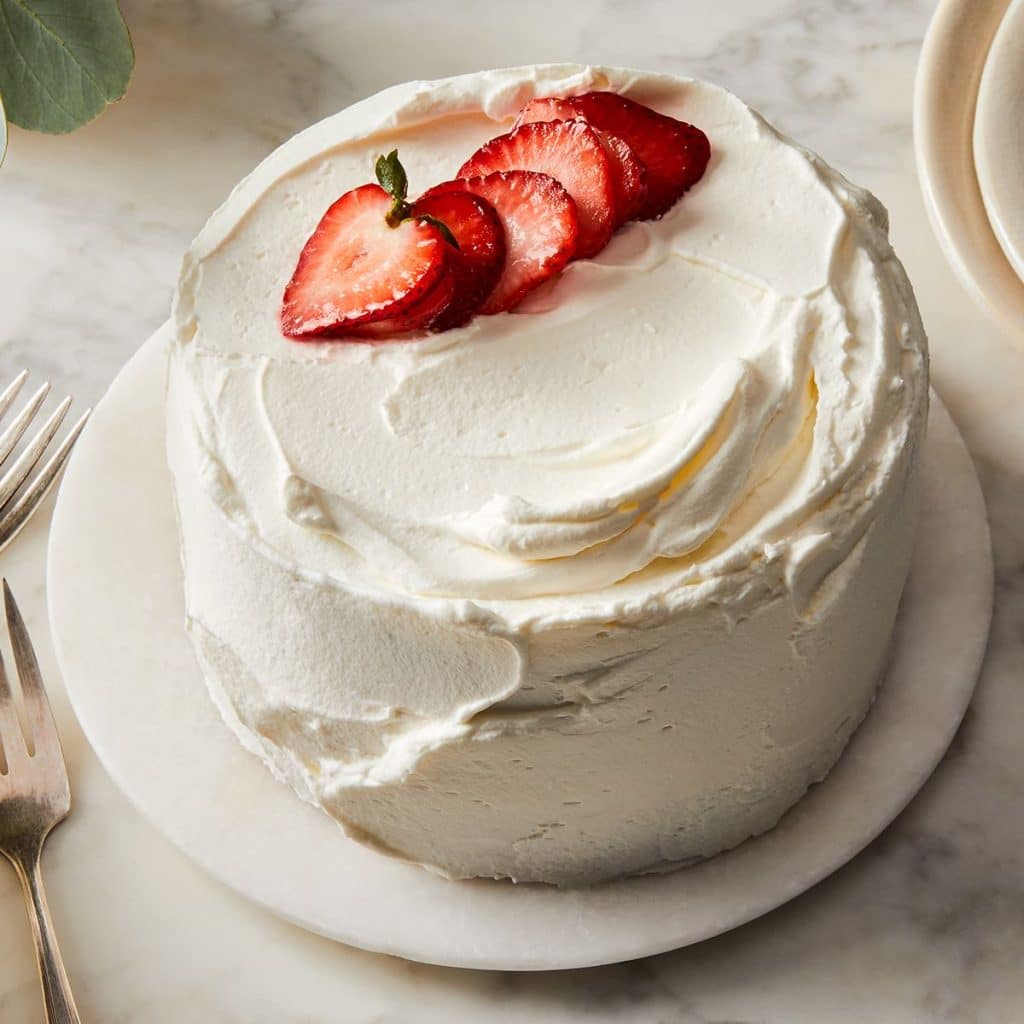
Treat Yourself to a Slice of Heaven: ANN’s Cake Collection
Make Your Birthday Special: Order Custom Birthday Cakes
At Peggy Ann Bakery in Greeneville, they offer custom birthday cakes that are sure to make your celebration extra special. Their skilled bakers use the freshest ingredients to create cakes that not only look great but taste amazing too. Whether you want a classic cake or something more unique, they can make it happen.
Let them help you create a memorable birthday with their delicious custom cakes. Order now and experience the magic of Peggy Ann Bakery!

Reviews: What Their Customers Say
Their Reviews section is dedicated to showcasing the feedback and experiences of their valued customers. At Peggy Ann Bakery, they believe that customer satisfaction is their top priority, and they take every review seriously.
I bought my daughter’s first birthday cake here 13 years ago and still go back almost every year. They have wonderful homemade cakes, pies, cookies, and about any dessert you can imagine. They have the best donuts in town and have a great lunch menu. I love their bachelor button cookies especially the maple ones they have during the Fall.
C R Gilland

Peggy Ann’s has some of the most wonderful cakes, pies, and especially, Donuts – of which I bought a bunch for our Christmas brunch tomorrow!
Christine Ingram

They made the most beautiful cake for my daughter’s 1st birthday and my niece’s 3rd birthday. I’m never let down. Friendly people!
Taylor Atnip

You are instantly his with the sweet sweet smell of fresh baked goodies and over come with some of the best tasting of said goods.
MeagaRLCraft

Best baked sweets around in town for us just to eat, they also have many deserts and catering for other occasions that go on. Weddings, birthday, party’s, anniversarys, & showers. I just go to simply get the cookies and doughnuts, not no big ordeal.
Brittany Ford

Love the pastries. My wife and I first went when we were on our honeymoon and have gone back every time where in that city and state visiting family all these years later. It is always a pleasurable will experience
Walter Street III
Discover out Their other location Peggy Ann bakery in Huntsville, AL
Come visit them at one of their many Peggy Ann Bakery locations in Huntsville, AL! In addition to their flagship location, they have several other addresses throughout the city for your convenience. At Peggy Ann Bakery, they are committed to bringing their customers the very best in baked goods, using only the finest and freshest ingredients. Whether you’re in the mood for cakes, pies, cookies, or any other sweet treat, their talented bakers are here to deliver. Stop by one of their locations today and discover why Peggy Ann Bakery has been a beloved Huntsville tradition for decades.